SpeedRunners 2 Reverse Grapple: The Lesson, the Technique, the Legacy
The Reverse Grapple is SpeedRunners 2’s hardest tutorial lesson — the input checks, the technique’s original-game roots, and what is verified about clearing it.
FAQ
How do I clear the Reverse Grapple lesson in SpeedRunners 2?
Is the Reverse Grapple lesson bugged?
Can I skip the Reverse Grapple lesson and still get the achievement?
Does the original SpeedRunners Reverse Grapple timing work in the sequel?
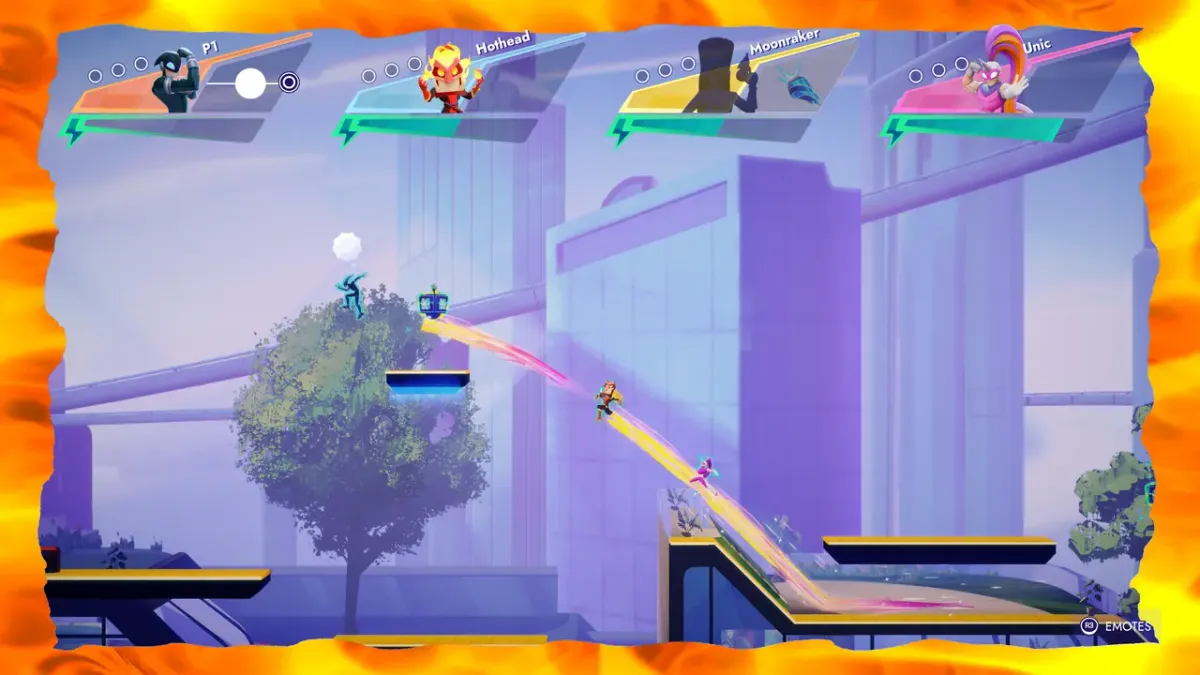
Every SpeedRunners 2 player meets the same wall. The Advanced Tutorials are a set, one achievement — “Ready for Action” — sits behind all of them, and the lesson that launch week will not stop arguing about is the Reverse Grapple. This page is the deep dive: what the lesson is, where the name comes from, and the honest checklist between you and a cleared attempt.
What the Reverse Grapple Is in SpeedRunners 2
The verified facts, from the official achievement list and launch-week reporting:
- An official lesson. The Reverse Grapple is one of the Advanced Tutorials — the set completed together for the “Ready for Action” achievement (“Complete all the Advanced Tutorials”). The Basic tutorial is the other track; both are covered in the tutorials guide.
- The set’s reported wall. One stubborn lesson blocks the whole set — and the Reverse Grapple is the one players keep reporting as hard to clear consistently. That reporting is community-tier, not a developer statement that the lesson is broken.
- Rare air. “Ready for Action” is held by 4.7% of players (global Steam stats, September 18, 2026) — deep in the rare end of the non-hidden set. Below it sit the five-block Crate grind (4.4%), the bot-ladder tiers (3.1–3.9%) and the 30-second airborne endurance test (1.8%), with the Platinum completion cap (0.5%) rarer than all of them. The lesson you are stuck on is the one most of the player base is stuck on.
The Original-Game Technique Behind the Name
The name is a legacy. The original SpeedRunners (2016) had its own Reverse Grapple — a competitive-scene technique community guides describe as a jump and grapple input pressed very close together, with the grapple landing first in at least one account, used to redirect momentum out of a swing — including backward, which is where the “reverse” comes from.
That description is historical community material about a different game build, reproduced here as context, not as a recipe. Two things keep it relevant:
- The official FAQ says techniques carry over in spirit — the sequel’s stated goal is matching the original’s mechanical depth, and what carried over is documented across this wiki.
- The lesson exists to teach something real. A tutorial lesson named after a momentum-reversal technique is teaching exactly the skill the original’s competitive scene prized: leaving a swing with your momentum pointed where you choose, not where the swing left it.
Why SR1 Timing Advice May Not Transfer
The trap is specifics. “Jump and grapple, very close together” is a hint about the concept — but a frame-level sequence tuned to the original’s physics is not evidence about the sequel’s. The builds differ, the feel differs, and launch-week players carrying SR1 muscle memory report the lesson fighting them anyway. The honest order of operations: understand the concept (redirect out of the swing), find the sequel’s own timing by experiment, and treat any undated frame-count advice — from any game — as unverified.
Stuck on the Lesson? The Checklist
Before your hundredth attempt, in order:
- Test your inputs outside the lesson. Verify jump and grapple both fire reliably in a normal race or bot match. If a binding is flaky in free play, no number of lesson retries fixes it.
- Check for the numpad conflict. Gameplay controls are remappable, but menu controls currently are not — and player reports describe gameplay actions bound to numpad keys also triggering training-menu shortcuts. If your grapple lives on the numpad, move it. The controls guide has the full story.
- Separate old-game habits from this build. SR1 timing is a hint, not a recipe (see above). If you played the original, your muscle memory is an asset everywhere else — and a suspect here.
- Try, fail, then adjust exactly one thing. One input-timing element per attempt. Changing three things at once teaches you nothing about which one mattered.
A Practice Routine That Doesn’t Need the Lesson
You do not need the lesson screen to train the skill. The movement guide’s 20-minute routine is the template — for this technique specifically:
- Bot races on grapple-heavy stretches. Blue-ceiling sections are the natural gym: swing, redirect, land where you aimed. Bot matches across the four difficulty tiers give you infinite reps with rising pressure.
- One redirect per swing, then chain them. Start by leaving one swing backward. When that is consistent, chain swing → redirect → swing — the rhythm the lesson is testing.
- Film yourself. A clip of a failed attempt shows whether the inputs fired at all — which is checklist item one, answered in ten seconds.
Related Pages
- Tutorials guide — both tracks, and the lesson in context
- Movement techniques — the system the lesson draws from
- Controls guide — remapping and the numpad conflict
- Achievements guide — what “Ready for Action” sits among
Related Articles
SpeedRunners 2 Guides
SpeedRunners 2 Secret Achievements: The Four Hidden Map Secrets
SpeedRunners 2 hides four achievements — one secret per map: Museum, Metro, Casino and SS Royale. What Steam’s own data confirms, and where the gem hunt stands.
SpeedRunners 2 Maps
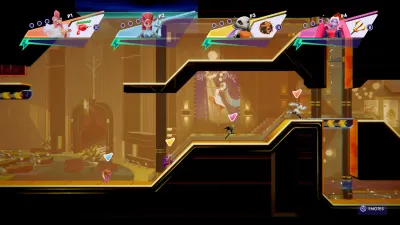
Casino Map in SpeedRunners 2: Layouts and the Royal Flush Trail
Casino returns in SpeedRunners 2, confirmed by the live build’s own data — an Expert-tier course in the original game. Layouts, theme, and the Royal Flush secret.
SpeedRunners 2 Maps
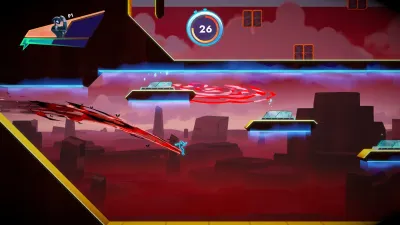
Metro Map in SpeedRunners 2: Layouts, Routes and the Hidden Secret
Metro returns in SpeedRunners 2, confirmed by the live build’s own data — the original game’s Central Station course. Routes, layouts and the hidden secret trail.
Next up
All 32 SpeedRunners 2 Achievements and How to Unlock Them
Ready for Action sits at 4.7% — see where that lands on the full ladder.
Was this helpful?
Thanks for the feedback!